How to Build an Aluminum Boat – Part One:
Setting up the Jig
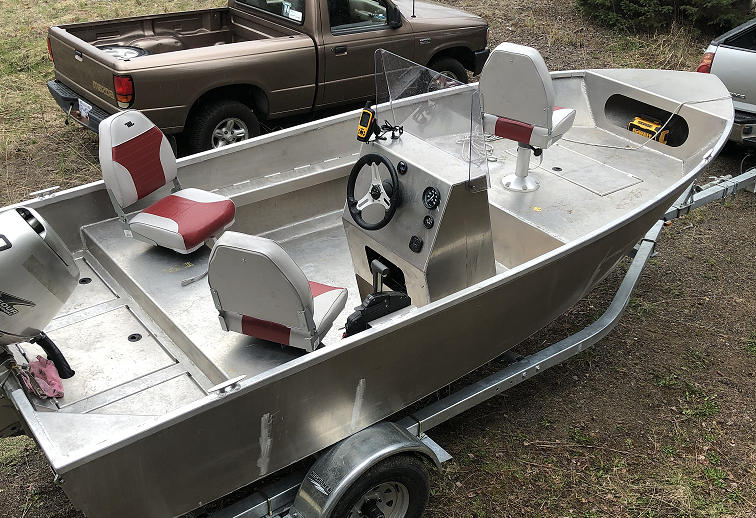
In my first article on boat-building, 7 tips to Building an Aluminum Boat Successfully the First Time, I touched on some of the hard-fought lessons I learned on my first boat build. My goal was to save you from some of the traps I fell into, even after years of working as a welder. Building boats isn’t easy; mistakes compound quickly and your credit card might have to pick up the slack. I received many great questions from that article, and clearly you, the reader, were as intrigued as I was about building your very own boat. I would encourage you to watch my youtube video first, Aluminum Boat Building Disaster – My Project is Over, before rushing out and building your first boat. Knowledge is key, and I hope I can provide you with a step-by-step guide to getting it right the first time. Building your own boat is extremely rewarding and also challenging. But first, a few words of caution before we dive in.
Disclaimer: It’s important to understand and follow your country’s requirements for boat building. I, or anyone at Adventure Marine, recommend that you consult a professional local boat builder during the construction of your boat.The information here is intended to help you realize your vision, but is in no way a substitute for professional, hands-on guidance.
Selecting your design
One of the first steps, and also one of the most important, in building your boat is setting up the jig. Boat hulls are constructed in a number of different ways, but for the purposes of this blog, I am going to focus on a design from MetalBoatKits.com. I have built two of designer Rick Wellins’ boats now. They have been rebranded as the Adventure 12 and the Adventure 16, as I have made modifications to both designs to suit my needs. They both use a similar jig and the setup process is identical for both boats.

Sawhorse construction
I chose to construct sawhorses for my build, but you can mount the jig directly on the ground if you wish. But there are some advantages to using sawhorses, and I would highly recommend you take the extra time to build them. Sawhorses raise the boat off the ground and make running the welds along the chine much easier (as you can sit on a rolling chair instead of the cold, unforgiving concrete!). In general, sawhorses are a great addition to any shop and make the building process more enjoyable. The caveat to this is sawhorses for your build should be lower in height than traditional horses, as the added height of the jig and boat will make getting in and out more difficult.
Locating the Sawhorses
It’s important to think about where you will build your boat. There are a few factors to consider. How will you flip the boat over after welding? I built a custom A-frame to assist in flipping the boat and loading it onto my trailer after the build. Another important factor is the location of welders/equipment. You need sufficient room to work, flip the hull, and load it onto a trailer after completion. Our 16’ boat was over 600lbs after it was finished. So, before you get too carried away, consider all steps of the building process before bolting the jig to the ground!
Positioning and Anchoring
It’s important you anchor your sawhorse to the concrete floor. This is critical, as you will be using hydraulic jacks down the road to form the bow of your boat. It is also key that the jig does not move or shift during the build. I can’t stress enough how important this step is. I used flush-mounted concrete drop-in anchors to eliminate the tripping hazard of studs. So first, pre-position your sawhorses and jig, then drill and anchor after completing steps 1-4 of the alignment and leveling (described below).


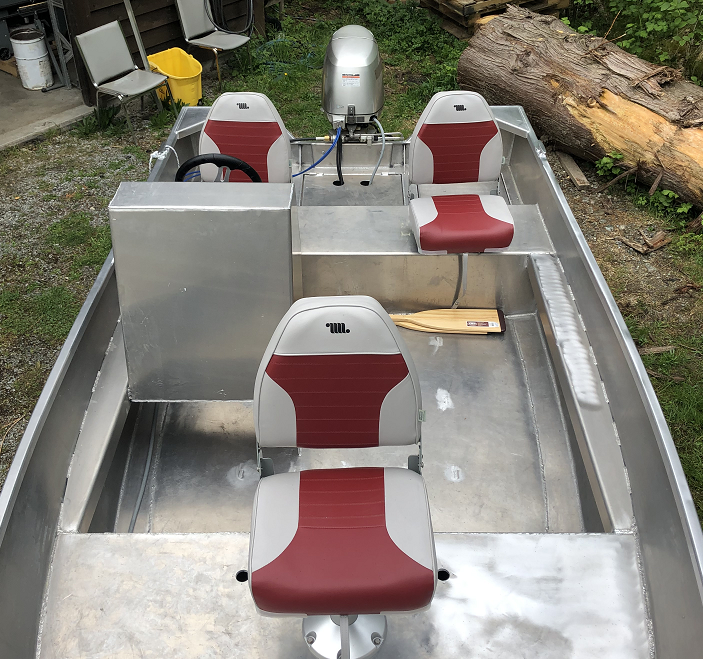
Alignment and Leveling
No concrete floor is exactly level; they often have a slope to help water run away. I used some jacking bolts from Adventure Marine’s Model 3000 Swivel Bracket to assist in the leveling process, but you could use nuts and a wrench to produce the same result. It’s important to have a level boat during the build, as there is a degree of craftsmanship to boat building. Being able to compare port and starboard sides by eye is key, and a non-level jig might fool you into thinking one side of your boat is uneven from the other.
Next is a step-by-step guide for proper leveling and alignment:

- Bolt the jig to the frame using angle iron and ¼” bolts
- Square and center your jig in your shop, accounting for the full length and width of the finished boat.
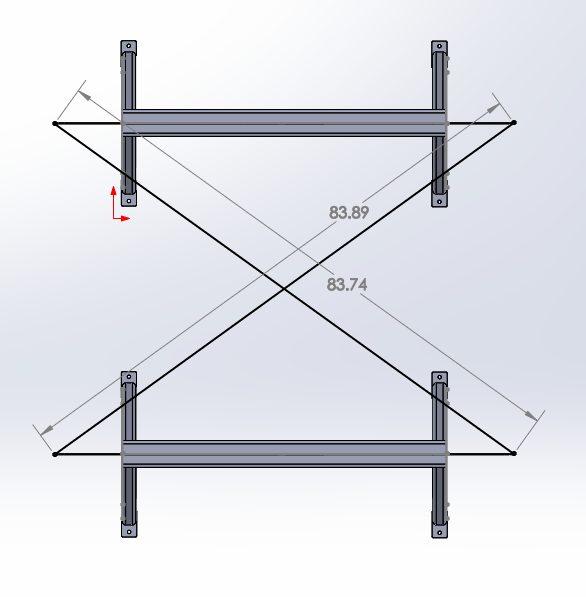
3.Cross square the jig from the points shown. Adjust the sawhorse until both numbers are the same.
It’s best to work with a partner to ensure your tape measure lands in the exact location on both sides.
Take your time to get the cross square as accurate as possible.

4. Drill your anchoring holes in one sawhorse only, and install threaded rods with leveling nuts.
5. Pull the other sawhorse tight, cross square the jig again, and anchor the last sawhorse.
6. Use a laser to level on all corners of the jig.
7. Check the jig for plum using the laser.
8. Tighten your locking nuts
9. Double-check cross square, level, and plum, and adjust if needed.
What’s to come: Beginning the Build
In the next blog, we will look at the tacking in the first four panels of the boat. The quality of this single step will dictate how well the entire build goes for you. During my first build, I cut my boat apart three times because I rushed this step. Any errors in alignment, even 1/16th of an inch, are compounded widely by the time you reach the nose of the boat 16’ later. I will go over in detail exactly how to tack up the boat, which welder settings to use, and much more.
If you liked this blog, please leave a comment! Your feedback helps me create more content for you.
Written by Greg Epp
August 16, 2020
CEO Adventure Marine MFG

5 Reasons to Convert your boat to an outboard motor
Inboard maintenance is difficult, cramped, and often results in more costly repairs because someone else has to perform the gymnastics on your behalf.
Customer Review ADV 16 Elaho
Some ancient mariner once told me, “Everyone has their own reasons for owning a boat and what is
important to you might not be important to them.”
Adventure 16 Elaho the crossover of boats
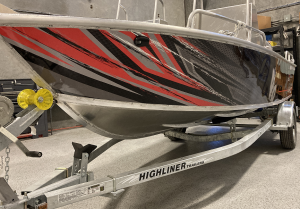
Dec 12/2021 2022 Adventure 16 Elaho The crossover of boats After 2 years of extensive research and development, and 3 prototype boats, Adventure Marine is finally ready to begin deliveries of our Adventure 16 Elaho line of 16’ fishing boats. The owner and CEO Greg Epp said, “I have been working hard for over 2 years to see this day arrive. I’m really excited to start this next chapter in the company’s 48-year
Adventure 16 Elaho Edition 500-Mile Review
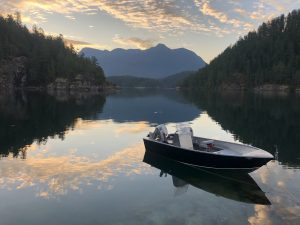
It was long overdue 47 years to be exact. Adventure Marine has never manufactured boats. Even though we have been building high-quality marine products since 1974. It is time to write a new chapter in our companies history and bring to market something special.

Line Guard Narcos: Slingin propeller guards in Mexico
The night before I was scheduled to leave, a man on a motorcycle showed up at my hotel with a satchel of US dollars sent by the boat captain. I led him upstairs to my room and we counted out the cash. After converting to Canadian dollars, I was just under the limit I could bring back without a declaration, which would involve trying to prove to the Canadian authorities that I was doing legitimate business in Mexico with a pile of US dollars.
How to Build an Aluminum Boat – Part One: Setting up the Jig
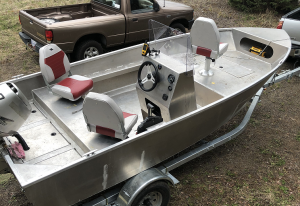
One of the first steps, and also one of the most important, in building your boat is setting up the jig. Boat hulls are constructed in a number of different ways, but for the purposes of this blog, I am going to focus on a design from MetalBoatKits.com. I have built two of designer Rick Wellins’ boats now. They have been rebranded as the Adventure 12 and the Adventure 16, as I have made modifications to both designs to suit my needs. They both use a similar jig and the setup process is identical for both boats.
[…] ← Previous Next → […]