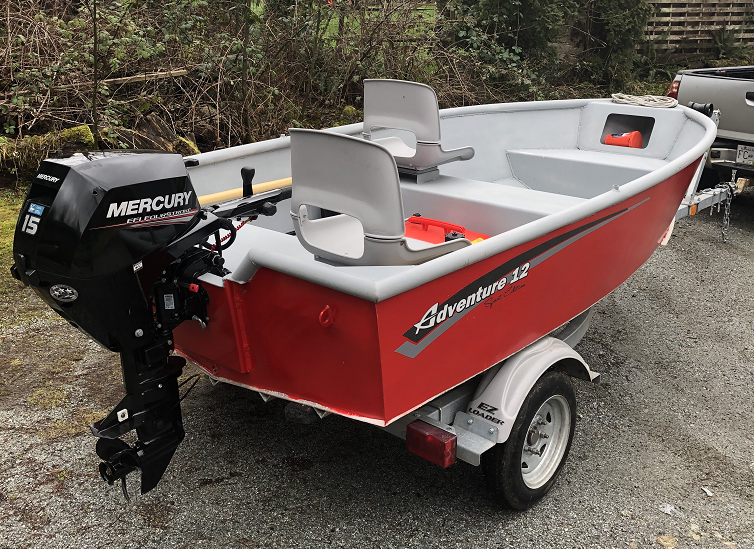

5 Reasons to Convert your boat to an outboard motor
Inboard maintenance is difficult, cramped, and often results in more costly repairs because someone else has to perform the gymnastics on your behalf.
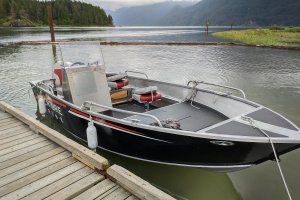
Customer Review ADV 16 Elaho
Some ancient mariner once told me, “Everyone has their own reasons for owning a boat and what is
important to you might not be important to them.”
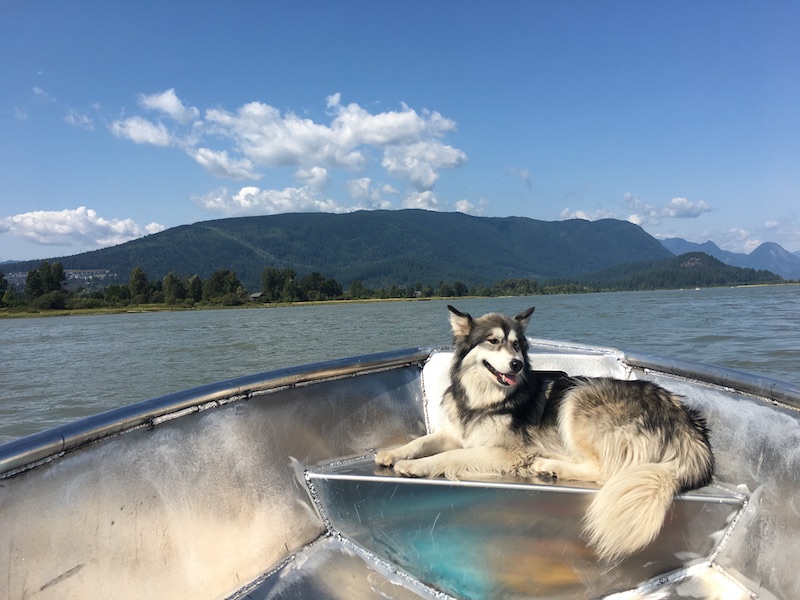
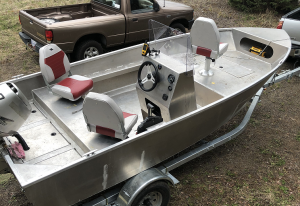
Adventure 16 Elaho the crossover of boats
Dec 12/2021 2022 Adventure 16 Elaho The crossover of boats After 2 years of extensive research and development, and 3 prototype boats, Adventure Marine is finally ready to begin deliveries of our Adventure 16 Elaho line of 16’ fishing boats. The owner and CEO Greg Epp said, “I have been working hard for over 2 years to see this day arrive. I’m really excited to start this next chapter in the company’s 48-year
Adventure 16 Elaho Edition 500-Mile Review
It was long overdue 47 years to be exact. Adventure Marine has never manufactured boats. Even though we have been building high-quality marine products since 1974. It is time to write a new chapter in our companies history and bring to market something special.
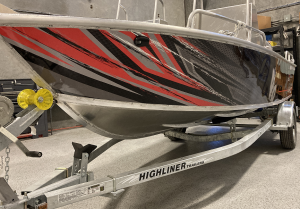
Line Guard Narcos: Slingin propeller guards in Mexico
The night before I was scheduled to leave, a man on a motorcycle showed up at my hotel with a satchel of US dollars sent by the boat captain. I led him upstairs to my room and we counted out the cash. After converting to Canadian dollars, I was just under the limit I could bring back without a declaration, which would involve trying to prove to the Canadian authorities that I was doing legitimate business in Mexico with a pile of US dollars.
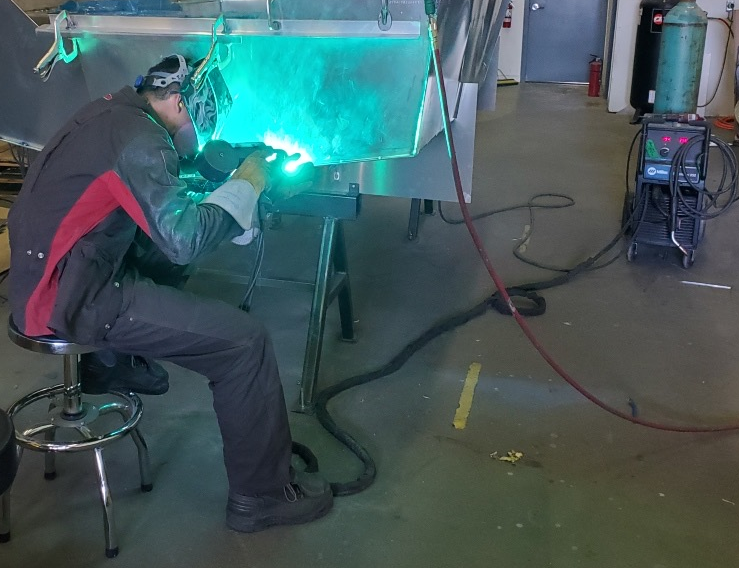
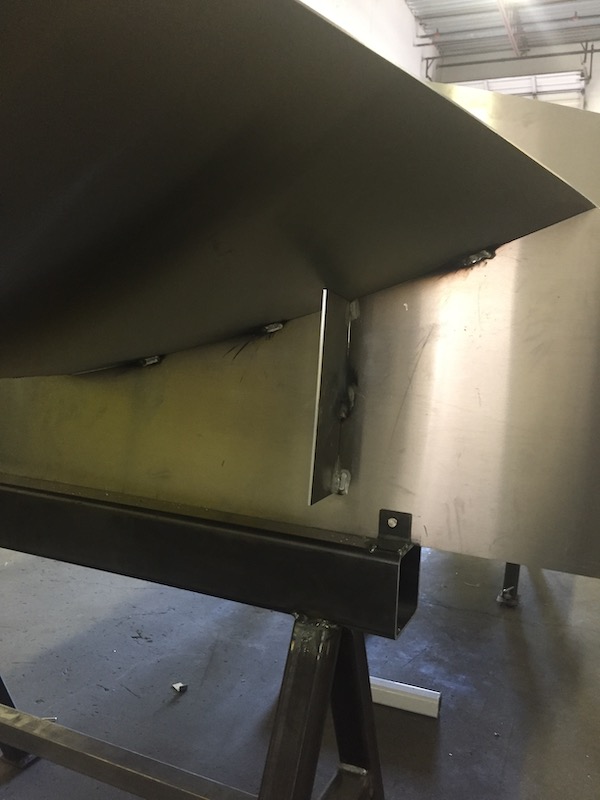
How to Build an Aluminum Boat – Part One: Setting up the Jig
One of the first steps, and also one of the most important, in building your boat is setting up the jig. Boat hulls are constructed in a number of different ways, but for the purposes of this blog, I am going to focus on a design from MetalBoatKits.com. I have built two of designer Rick Wellins’ boats now. They have been rebranded as the Adventure 12 and the Adventure 16, as I have made modifications to both designs to suit my needs. They both use a similar jig and the setup process is identical for both boats.